
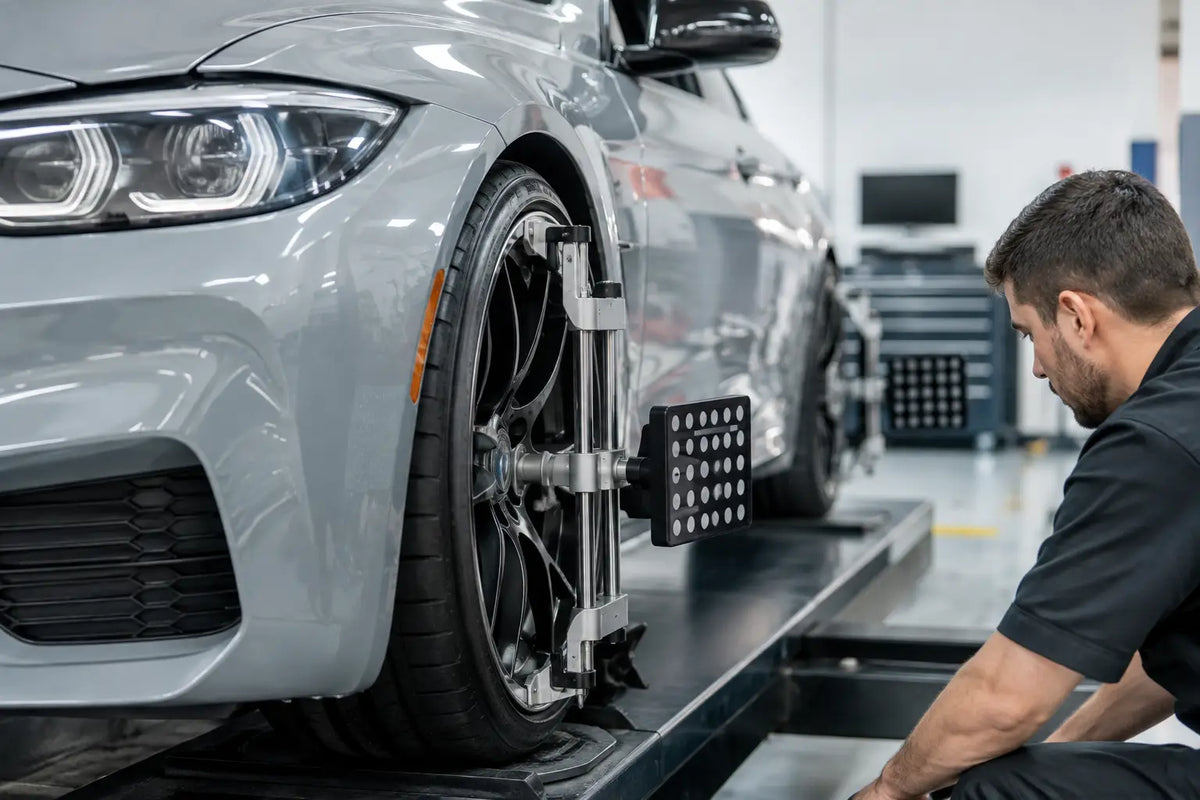
A car can have quality coilovers, fresh tyres and serious brake hardware, yet still feel nervous under braking or inconsistent from left to right. Often, the missing piece is setup rather than another part. Learning how to corner balance a car puts the load where it needs to be, giving the chassis a more predictable platform when you start pushing at a track day.
Corner weighting is not a magic lap-time button. It will not rescue worn bushes, a bent control arm, mismatched dampers or poor geometry. But on a properly prepared car with adjustable suspension, it is one of the most worthwhile ways to turn a collection of good parts into a setup that works together.
What corner balancing actually changes
Corner balancing measures the weight carried by each tyre and adjusts the suspension so the car is loaded evenly across its diagonals. The figures that matter are not simply left versus right. For a circuit car, the key target is normally cross weight, sometimes called wedge.
Cross weight is calculated as:
Left-front + right-rear ÷ total vehicle weight × 100
A 50 per cent cross weight is the usual target for a neutral, symmetrical setup. When it is close, the car should respond more consistently in left and right turns, remain calmer under threshold braking, and put power down with fewer surprises.
A perfect 50 per cent is not always the real-world goal. Oval racers deliberately build wedge into the car to suit constant one-direction cornering. A road or track-day car that sees both left and right bends should usually be set as close to 50 per cent as practical, with the driver in place and the fuel level matched to how the car is normally used.
Is your car ready for corner weighting?
You need independently adjustable ride-height control. Proper coilovers with threaded spring perches are the normal route. Systems from established performance suspension manufacturers are built for this kind of adjustment, provided the spring seat and damper body arrangement allows ride height to be changed without compromising available travel.
Lowering springs on fixed dampers do not give you the adjustment needed. Neither do coilovers with seized threads, tired top mounts or springs that are loose at full droop. Before booking scale time, inspect the basics: wheel bearings, ball joints, bushes, drop links, tyre condition, tyre pressures and brake drag. Any fault that changes ride height or adds friction can make the readings misleading.
Geometry comes first in a broad sense, but final alignment comes after corner balancing. Set the car to a sensible baseline ride height, then balance it, then carry out the final camber, caster and toe alignment. Adjusting the spring perches during weighting alters ride height and can move your alignment figures.
The tools needed to corner balance a car
The right tool is a set of four electronic corner-weight scales with low-profile pads or ramps. They must sit on a genuinely level surface. A garage floor that looks flat is often not flat enough, and even a few millimetres of variation can chase the numbers in the wrong direction.
You will also need a tape measure, tyre-pressure gauge, spanners for the spring perches, and ideally slip plates or low-friction turn plates under the tyres. The latter allow the suspension to settle naturally as adjustments are made. If you do not have scales, a specialist alignment shop with motorsport setup experience is the sensible option. Guessing from arch gaps is not corner balancing.
Do the job with the exact wheel and tyre package you intend to run. Changing from heavy road wheels to lighter track wheels, fitting a different tyre size, or adding a splitter and rear wing can all alter the result. For a serious track build, scales should be part of the setup routine whenever major hardware changes.
Preparation before the car goes on the scales
Start with tyre pressures set cold and equal across the axle unless your tyre plan calls for something different. Remove loose items from the cabin and boot, then decide what represents normal running condition. For most track-day cars, that means the driver in the seat, helmet and typical kit included, with fuel at a repeatable level such as half a tank.
Driver weight matters. A 75 kg driver is a major percentage of the mass on one side of a lightweight Honda, Renault or stripped BMW. Balancing an empty car then climbing in before the first session defeats the point.
Roll the car onto the scales carefully. Avoid climbing kerbs or dropping it hard onto a pad. Bounce each corner lightly or roll the car backwards and forwards between readings to release tyre and bush wind-up. Record all four figures before touching a perch.
How to adjust cross weight without chasing your tail
Read the scales as a system, not four isolated numbers. On a conventional independent-suspension car, raising one corner with the spring perch generally increases load at that corner and its diagonal partner, while reducing load at the other two corners. Lowering that corner has the opposite effect.
For example, if left-front plus right-rear cross weight is too high, you need to reduce load on that diagonal. You can lower the left-front or right-rear, or raise the right-front or left-rear. In practice, choose the adjustment that keeps overall ride height where you want it and preserves sensible left-to-right rake.
Make small changes - often one or two turns of the perch at a time. Settle the suspension after every adjustment, then read all four scales again. Large changes create confusion because you are altering cross weight, individual corner loads and ride height at once.
Do not obsess over identical weight at each wheel. Most cars have an engine offset, battery, fuel tank, exhaust, steering column and driver on one side. Left/right totals can be unequal while the cross weight is excellent. The goal is balanced handling, not a spreadsheet that looks symmetrical.
A useful adjustment sequence
First, establish your target ride height and rake. Second, get cross weight close to target using small perch adjustments. Third, recheck ride heights at consistent chassis reference points, not plastic side skirts or inconsistent wheel-arch lips. Finally, settle the car again and confirm the scale readings.
If you cannot reach a sensible cross weight without creating a visibly poor ride-height result, stop and investigate. Uneven spring rates, a preloaded anti-roll bar, suspension damage, an off-centre subframe or a twisted shell can all be behind a stubborn setup.
Anti-roll bars can distort the result
Adjustable anti-roll bars are excellent tuning tools, but they must not be preloaded while corner balancing. With the car sitting naturally on the scales, disconnect one end link if necessary, set the bar neutral, then adjust the link length so the bolt slides through without forcing the suspension up or down. Tighten it in that neutral position.
This is especially relevant on heavily lowered builds. An anti-roll bar that is effectively pulling one corner up can make the scale numbers look wrong and introduce unwanted handling bias. The bar should control roll once the car is cornering, not dictate static corner weights in the workshop.
Common mistakes that waste a setup day
The most common error is balancing the car without the driver. The next is using an uneven floor, followed closely by making adjustments without settling the suspension. Tyre pressures that differ by even a small amount, a handbrake dragging, or wheels sitting against the edges of the scale pads can also corrupt the figures.
Another mistake is treating corner balance as a substitute for damper tuning. Scales set static load distribution. They cannot tell you whether rebound is too stiff over kerbs, whether bump damping is packing down, or whether your spring rates suit the tyre and aero package. Those decisions still need track testing and clear driver feedback.
For road-driven cars, there is also a trade-off. An aggressively low ride height may look right but leave too little bump travel for uneven B-roads. A slightly higher, properly balanced setup usually works faster and feels far better than a slammed car that rides the bump stops.
Finish with alignment and track validation
Once the scales are where you want them, lock the spring perches and perform the final alignment. Confirm that steering-wheel centre, toe settings and camber are correct at the settled ride height. Then test the car in the environment it was built for.
On track, pay attention to braking stability, turn-in consistency and traction when exiting both left and right corners. Make notes on tyre temperatures and wear rather than changing settings after one dramatic moment. Corner balancing gives you a clean foundation, which makes every later suspension and tyre adjustment easier to understand.
If your build has reached the point where coilovers, wheels, tyres and brakes are all working harder, treat a proper scale setup as part of the package. Torque Lab customers building track-ready street cars should see it as the final workshop step that lets those performance parts do the job they were bought for.