
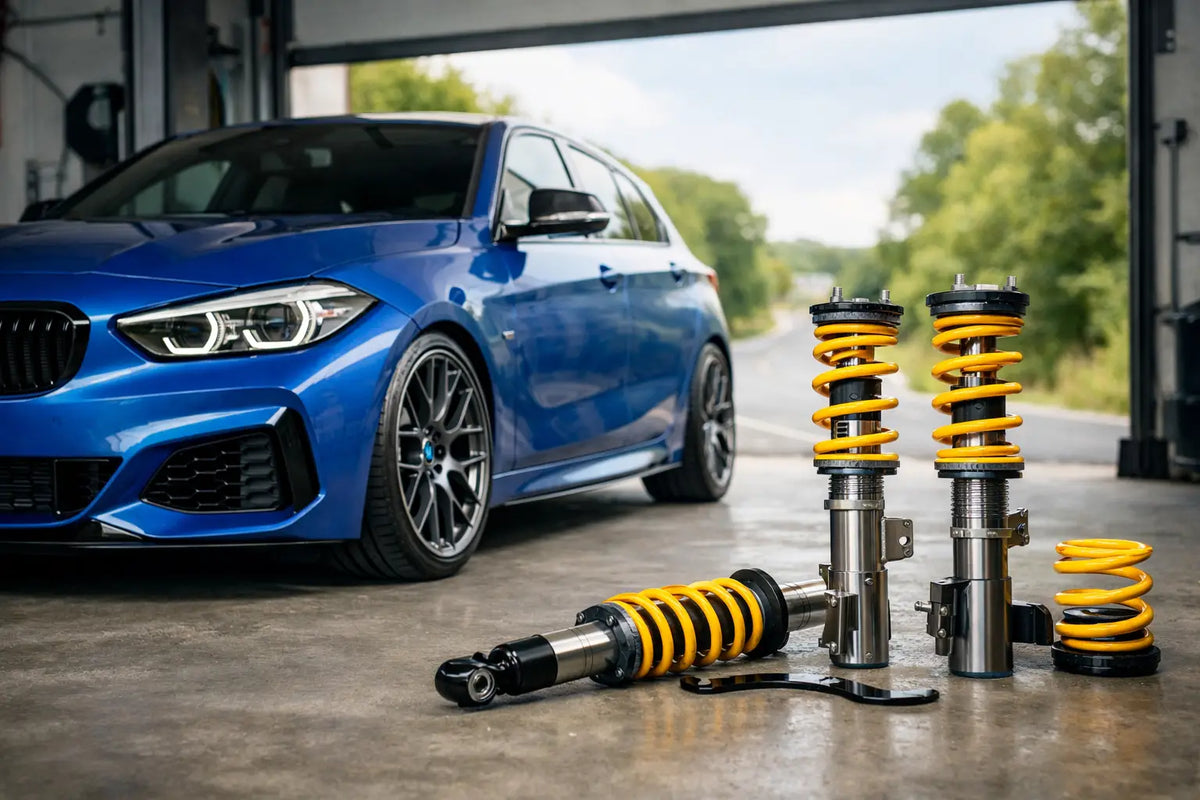
The F20/F21 M135i has enough straight-six shove to expose a lazy chassis setup immediately. Fit coilovers too low, too stiff or without a proper alignment and the car starts tramlining, skipping over broken B-roads and losing traction where it should be driving cleanly off the rear axle. This BMW M135i coilover setup example is aimed at the rear-wheel-drive F20/F21 car used hard on fast roads, with a handful of track days through the year.
It is a starting point, not a universal set of numbers. Coilover valving, tyre construction, wheel fitment and how smooth your local roads are all change the final answer. The goal is simple: retain composure, build front-end confidence and keep the rear tyres working rather than merely making the car look low.
BMW M135i coilover setup example for road and track
Start with a quality, vehicle-specific coilover kit from a recognised suspension manufacturer. The F20/F21 platform responds well to a monotube kit with separate damping adjustment, sensible spring rates and enough ride-height range to avoid winding the car into the floor. Cheap kits often make the M135i feel initially sharp because they remove suspension travel, then fall apart over rough surfaces.
For a fast-road-biased build, set ride height by measuring from wheel centre to arch, not from the sill to the ground. Tyre sidewall, wheel diameter and even a slightly uneven surface can make ground measurements misleading. A useful opening position is around 15-25 mm lower than the standard M Sport ride height, with a small rake - roughly 5 mm higher at the rear when measured hub-to-arch.
That modest drop brings the centre of gravity down without sacrificing the bump travel the car needs. Going lower may suit a show-focused build or a very smooth circuit, but it usually creates more problems on a road M135i: exhausted bump travel, sump and undertray clearance issues, driveshaft angles that are less than ideal, and an unsettled rear end over crests.
Damping should begin in the middle-to-soft portion of the available range. If a damper has 30 clicks of adjustment, do not assume 25 clicks is a performance setting. Start at roughly one-third of the range from full soft on both axles, then add a small amount of front damping only if the car takes too long to settle after turn-in. If the rear feels nervous on a rough exit or starts hopping under power, soften the rear before changing anything else.
The exact click count is manufacturer-specific, so record your baseline rather than copying a number from another kit. One click on a road-focused damper is not necessarily comparable with one click on a track-oriented coilover.
A sensible baseline specification
For an F20/F21 M135i on 18-inch wheels, road-biased performance tyres and occasional circuit use, a proven direction looks like this:
- Ride height: 15-25 mm below standard M Sport height, with a slight rear rake.
- Damper setting: approximately one-third from full soft, then adjusted in one- or two-click changes only.
- Front camber: around -1.8 to -2.2 degrees where top mounts or other hardware allow it.
- Rear camber: around -1.5 to -1.8 degrees to keep traction and tyre life in balance.
- Front toe: close to zero, or a very small amount of toe-in for stability.
- Rear toe: modest toe-in, typically around 0.08-0.12 degrees per side.
Alignment is where the setup comes alive
Coilovers without alignment are only half a job. Lowering the M135i alters camber and toe, and rear toe in particular has a major effect on stability under power. A car can feel planted in a straight line while still scrubbing tyres and refusing to rotate because the rear geometry has been left wherever it landed after installation.
Ask for an alignment with your normal driver weight in the car, the fuel level you usually run and the ride height already settled. Drive the car for a short bedding-in period after fitting the coilovers, then have the alignment checked again. Springs can settle enough to move the numbers, particularly if the kit has been adjusted after the initial installation.
More front camber is one of the most worthwhile changes for track work. The M135i can lean on the outside front tyre, and standard geometry may wear the outer shoulder before the rest of the tyre has done its job. Adjustable top mounts offer a direct route to better camber, but they can introduce more noise and vibration. For a daily-driven car, that trade-off deserves thought.
Tyres, wheels and clearance decide how low you can go
The suspension is only as good as the contact patch. A fresh set of performance tyres at the correct pressures will transform the car more than chasing another 10 mm of drop. For a fast-road M135i, use a tyre with strong wet performance and a casing that does not collapse under hard cornering. Track-focused semi-slicks can be superb in heat and dry conditions, but they need appropriate pressures, warm-up and weather awareness.
With a conventional staggered wheel setup, ensure the rear tyre has enough clearance at full compression. The M135i makes torque early, so a compromised rear tyre fitment is not a small issue. Check inner clearance to the damper, outer arch clearance and the result with passengers or luggage onboard. A setup that clears on axle stands can still rub hard when the suspension is actually loaded.
If you move to a square wheel and tyre arrangement for track use, the benefits are predictable handling and the ability to rotate tyres front-to-rear. The compromise is that wheel width, offset and front arch clearance need to be chosen carefully. Do not buy based on diameter alone. Correct fitment is what keeps a capable chassis from becoming a rubbing, vibration-prone headache.
Supporting parts worth fitting at the same time
A coilover installation is the right moment to inspect the parts around it. Worn top mounts, tired bump stops, split dust boots and loose drop links can make a new kit feel poor before it has even had a fair chance. Replace suspect components rather than asking fresh dampers to mask them.
For road and occasional track use, upgraded anti-roll bars are optional rather than automatic. A slightly firmer rear bar can help rotation, but too much rear roll stiffness on an M135i can reduce traction over bumpy exits. The car already has enough engine to punish an overly lively rear axle. Start with the coilovers, alignment and tyres, then assess what the chassis genuinely needs.
Brake condition matters too. Once the car carries more speed through a sequence of corners, standard pads and old fluid become the weak point quickly. Performance pads, quality fluid and tyres that match the intended use make the suspension upgrade feel complete rather than isolated.
Do not copy this setup onto an F40 M135i xDrive
The later F40 M135i xDrive is a different platform with different suspension hardware, weight distribution and drivetrain behaviour. It needs an F40-specific coilover kit and its own alignment plan. The broad principles remain - preserve travel, avoid excessive lowering, align it properly and prioritise tyres - but the measurements and handling targets above are for the F20/F21 rear-wheel-drive M135i.
Once fitted, test changes methodically. Use the same familiar road, adjust one axle or one damping setting at a time, and write down what the car does under braking, turn-in and throttle application. The best setup is not the lowest or the hardest one. It is the one that lets you commit earlier, use more of the tyre and drive the M135i hard without fighting it.