
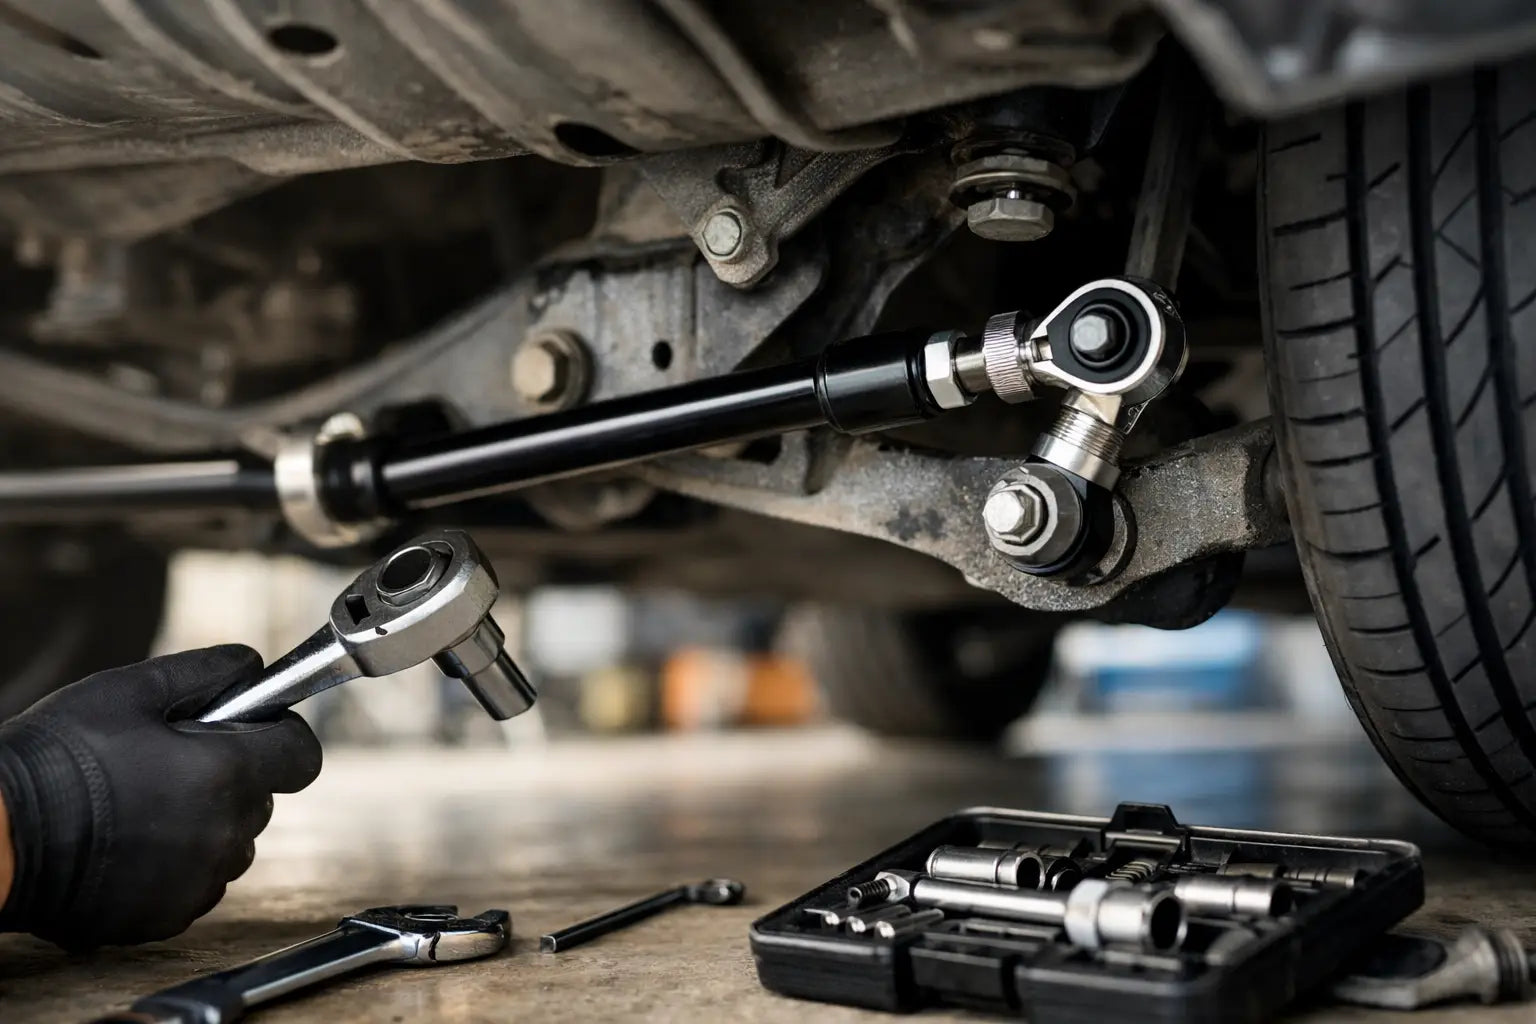
A thicker anti-roll bar can transform a car that leans, hesitates and pushes wide into one that feels far more planted. But knowing how to install adjustable sway bars matters just as much as choosing the right kit. A bar installed with preload, overtightened bushes or poorly routed end links can leave you chasing strange handling behaviour that the parts were meant to fix.
Adjustable sway bars are not simply a bolt-on route to more grip. They are a balance tool. Set up correctly, they reduce body roll, sharpen response and let you tune front-to-rear balance for fast road driving, track days or a more serious circuit build.
Start with the right bar and a realistic goal
Before the car goes on stands, check that the sway bar, bushes, brackets and end links are correct for the exact platform, drivetrain and suspension arrangement. A front bar for a front-wheel-drive hot hatch may not clear the subframe or exhaust routing of another version of the same model. Lowered cars can also need adjustable end links to restore sensible geometry and avoid the bar sitting under tension at normal ride height.
Decide what you want to change. A stiffer front setting generally reduces body roll at the front but can add understeer. Increasing rear roll stiffness can help a front-wheel-drive car rotate, yet too much rear bar can make lift-off behaviour nervous. On rear-wheel-drive cars, the answer depends heavily on spring rates, damper settings, tyre choice, alignment and how the car is driven.
This is why the stiffest hole is rarely the automatic choice. The best starting point is usually the softest or middle setting recommended for your vehicle and use case. You can always move stiffer after testing.
Tools and preparation for adjustable sway bar installation
Work on a level surface and support the vehicle securely on axle stands at the manufacturer-approved jacking points. Never rely on a trolley jack alone. You will normally need sockets, spanners, a torque wrench, penetrating fluid, a pry bar and the correct hex or Torx tools for the end links. A wire brush is useful for cleaning bracket and fastener threads.
Read the supplied fitting instructions before removing anything. Aftermarket kits vary. Some use greased polyurethane D-bushes, others use lined bushes that must not be greased. Some include new brackets and hardware, while others retain factory mounting points. Following the kit-specific torque figures takes priority over generic advice.
Take clear photos of the factory bar, bush brackets and end-link orientation. It is a small step that saves time when you are under the car trying to remember which way a bracket faced around a heat shield or subframe brace.
Load both sides evenly before disconnecting links
Support the car so both wheels on the axle are at equal height. For many installations, this means raising the whole front or rear of the car and placing axle stands evenly beneath it. If one wheel is hanging and the other is compressed, the existing bar is twisted and the end-link bolts can be loaded heavily.
If a bolt will not align or needs force to come out, do not simply pull harder. Adjust the height of the suspension arm slightly with a jack until the load comes off the link. That same principle is essential when fitting the new parts.
Remove the factory anti-roll bar cleanly
Spray corroded end-link and bracket fasteners ahead of time, especially on UK and European road cars that have seen wet winters and salted roads. Remove the end links first, then unbolt the D-bush brackets. Depending on the chassis, the original bar may slide out sideways, over the exhaust or through an opening created by removing an undertray, brace or lower subframe section.
Do not remove subframe bolts casually. On some platforms, lowering the subframe can affect steering-centre position, alignment or drivetrain mounting. If the bar design requires subframe movement, use the vehicle workshop procedure and have alignment checked afterwards.
Compare old and new parts side by side. Confirm the bends, arm length, bush diameter and end-link holes match the intended position. Adjustable bars can look deceptively similar when turned upside down. An incorrectly orientated bar may contact the driveshaft, exhaust, chassis rail or steering rack once the suspension moves through its travel.
Fit the bushes, brackets and bar
Clean the mounting surfaces before installation. If your kit uses polyurethane bushes, apply only the lubricant supplied or specified by the manufacturer to the inside of the bush. The wrong grease can swell certain materials, attract grit or cause persistent squeaking. Do not coat the outside of the bush unless the instructions state otherwise - the bush should normally sit firmly in its bracket.
Place the bushes over the bar in the correct positions, then fit the brackets loosely. Slide the bar into place and confirm it is centred. On many cars, equal arm length visible on each side is a useful initial check, but use fixed chassis reference points if the bar has asymmetrical bends.
Install every bracket bolt by hand first. Once the bar sits naturally in its mounts, tighten the brackets to the specified torque. Avoid using an impact gun for final tightening. Threaded mounts in an alloy subframe or captive nuts weakened by corrosion are easy to damage, and the repair is far more frustrating than taking an extra minute with a torque wrench.
Choose the adjustment hole before attaching end links
Most adjustable sway bars have two or three holes at each arm. Moving the end link closer to the bar's bend makes the effective lever arm shorter and increases roll stiffness. Moving it outward creates a softer setting.
Use the same hole on both sides. A mismatched setting can preload the bar or create asymmetric handling. For a first installation, choose the manufacturer baseline if one is supplied. Otherwise, a middle setting is often sensible for a mixed road and track car, while the softer setting is the safer start for uneven roads, wet conditions or a car with already-stiff springs.
Attach the end links loosely at this stage. Make sure their joints are not at an extreme angle and that the link body, locking nuts and bolt heads clear the wheel, damper, driveshaft and brake hose through suspension movement. Adjustable links should have sufficient thread engagement at both ends - do not run them out to the last few threads just to make a length work.
Set zero preload at normal ride height
This is the part that separates a tidy installation from a car that feels inconsistent left to right. The sway bar should be neutral at the vehicle's static ride height, meaning neither arm is being forced up or down to connect the end link.
Ideally, place the car on ramps or a drive-on lift so the suspension carries the vehicle's weight. With the bracket bolts tightened, adjust the length of an adjustable end link until its bolt slides into the chosen bar hole without levering the bar arm. Tighten the locking nuts once it is correctly set.
If you do not have ramps, you can use the wheel-height method: support each suspension arm at approximately normal ride height while the car remains safely supported. It is less convenient, but far better than tightening the links with the suspension fully drooped and assuming all is well.
Factory fixed-length links may be fine on a standard-height car. On a lowered chassis, however, adjustable links are often the cleanest way to eliminate preload and correct a bar that now sits at an awkward angle.
Torque, clearance and the first test drive
Torque end-link nuts and bolts to the kit or vehicle specification with the suspension at ride height where required. Many ball-joint-style links use a hex key or Torx counterhold in the stud to prevent it spinning. Do not grip the polished ball-joint stud with locking pliers unless you want to damage it.
Before refitting wheels, inspect clearance carefully. Turn the steering from lock to lock on front installations, then check that the bar and links cannot foul at full droop or compression. Look for nearby exhaust sections, driveshafts, chassis braces, damper bodies, wheel barrels and brake lines. A sway bar moves in an arc, so clearance that looks fine with the car in the air is not the whole story.
After a short, careful drive, listen for knocks, squeaks or metallic contact. Recheck all accessible fasteners after the first heat cycle and again after a few hundred miles or one hard track day. Poly bushes can settle, end-link lock nuts can loosen and a minor contact point often reveals itself only under real suspension load.
Tune one change at a time
Do not fit a new bar, change damper clicks, alter tyre pressures and add aggressive alignment all in the same weekend, then try to diagnose the result. Start with a known tyre pressure and alignment, then test the sway bar setting on familiar roads or at the circuit.
If the car pushes wide mid-corner, reducing front bar stiffness or increasing rear stiffness may help, but only within reason. If the rear feels too lively on lift-off or over kerbs, soften the rear setting before blaming the tyres. Wet weather, bumpy circuits and a daily-driven car often reward a softer setup than social media's stiffest-setting advice suggests.
A properly fitted adjustable sway bar gives you a useful tuning range rather than a single handling gamble. Start neutral, torque it correctly, check every clearance point and make measured changes. That is how a suspension upgrade earns its place on a fast road car or track build.